Fine Grinding The Mirror
Making a 4.25 Inch Dobsonian
Reflector Telescope
Choosing
the Grits
If
you purchased your grits in a kit, you don't have to choose the sizes. Ordinarily with each smaller size, you want to
lower the grit size by a factor of two.
There is not much literature on how you decide when to switch to a lower
grit. Usually you will read about
looking for pits. I did not find this
particularly useful. Once you get below
120 Grit, it is hard to see what is going on without magnification. It is also important to realize that no
matter what you do, you will always find pits that are about twice the size of
the current grit. When you only see a
few of these, then it is time to go to the next grit.
As
you move through the grits, you will notice the surface will be smoother both
visually and to the touch. It will
never end up smooth like glass. For
that you will need to wait for the polishing stage. If you are using a glass tool, you may find the blank and the
tool may freeze together. If this
happens, put both into a bucket of warm water. This will usually free the two.
Keeping
things Clean
Of
course when you switch grits, you will want to clean up your grinding area
thoroughly. If you grind outside in
the backyard, you can spray your mirror blank and equipment with a hose. If your clothing has attracted some grit,
you will want to change it.
What
to Look For?
I
choose to take as scientific approach as possible when deciding when to switch
grits. This was after a first attempt
in which I was in a hurry, and when I got down to a very small grit size, I
found I had pits that would not grind out.
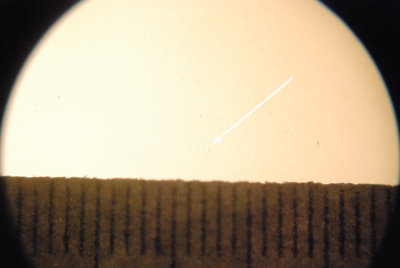
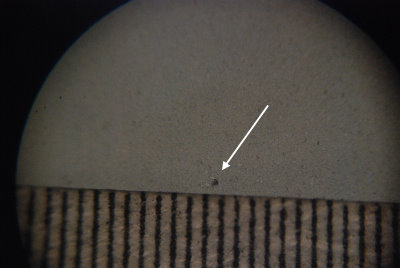
So after a session of grinding, I would clean off the blank and look at
it under a low power microscope.
After convincing myself that only a few large pits were left, I would
take a photo of the largest one I could find on the surface and then go to a
lower grit size. In the pictures below
you will see a scale I made on a 600dpi laser printer. The smallest increments are in hundredths
of an inch. Note that the lighting is
not consistent in the photos. Just keep
an eye on the mottled pattern. The
circle you see is not the disk of the blank, but rather the view port in the microscope.
After 80 Grit
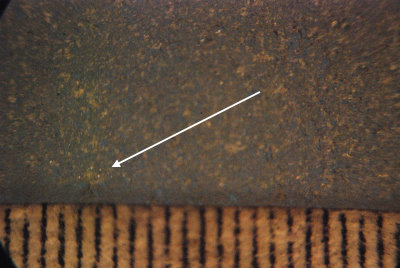
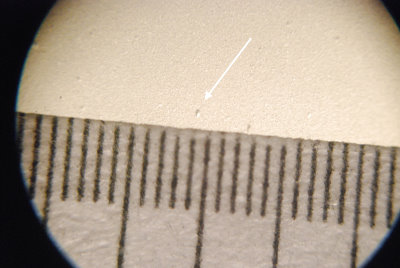
After 120 Grit
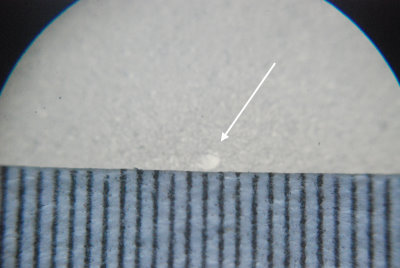
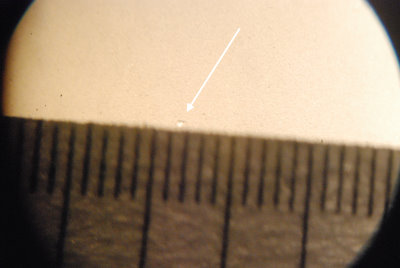
After 220 Grit
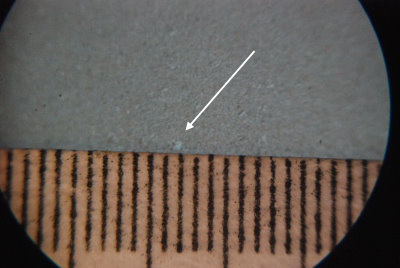
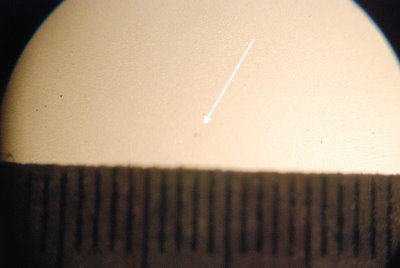
After 320 Grit
Notice
that below 320 micros the size names change from grits per inch to microns
(thousandths of an inch).
After 20 Microns
After 15 Microns
After 9 Microns
After 5 Microns